
July 31, 2023
In
classes, how to, threedogyoga, yoga poses, yoga@home, yogavibe
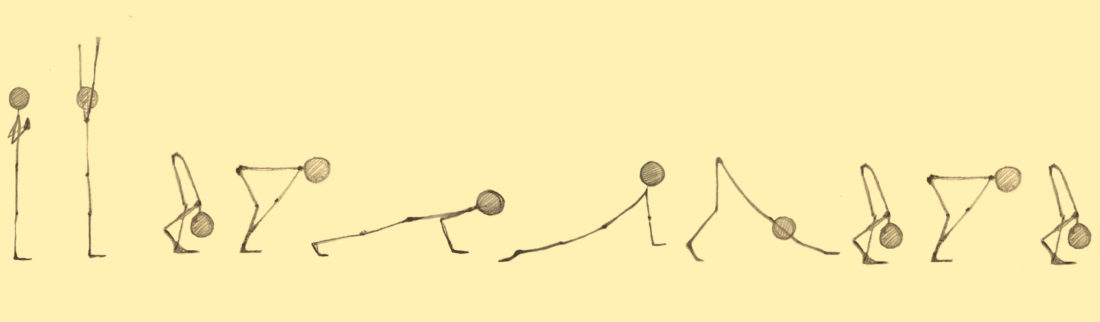
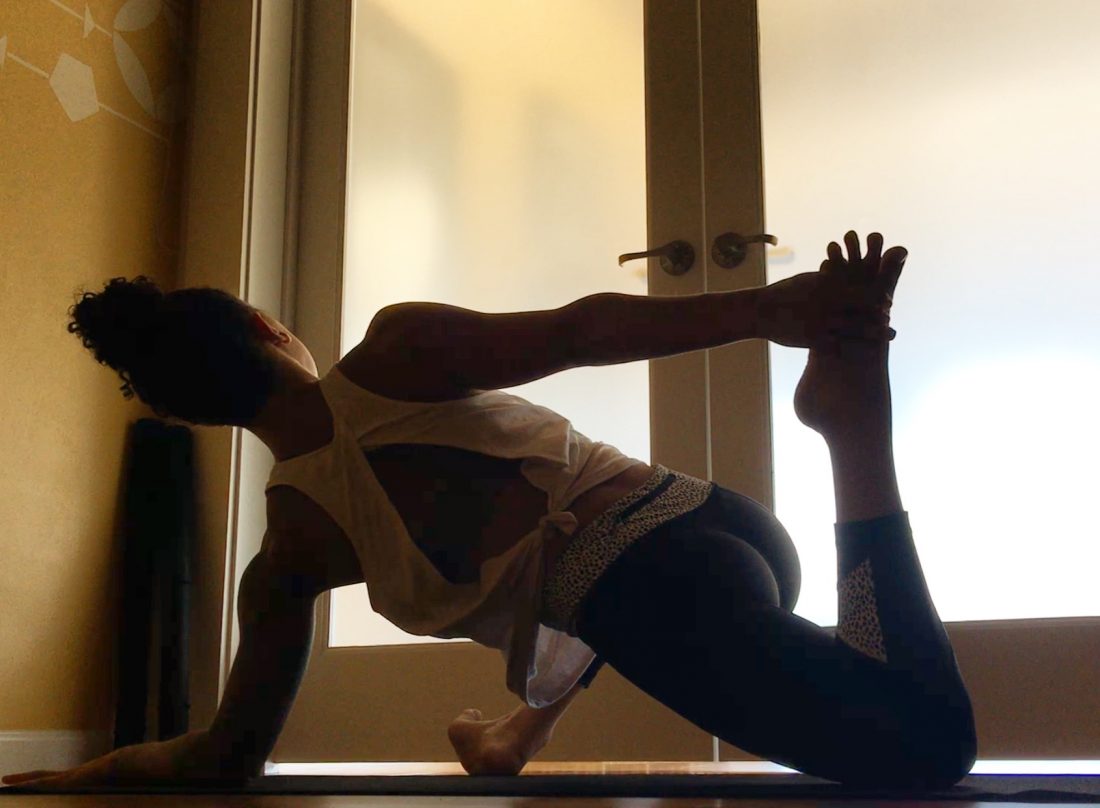
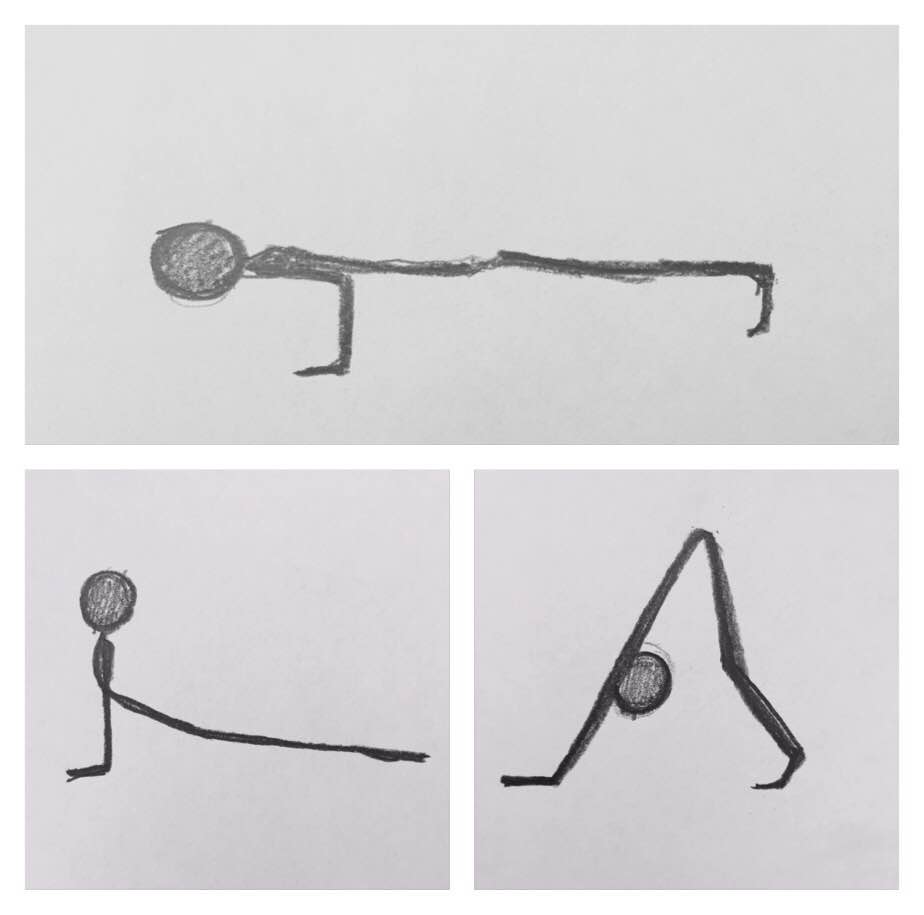
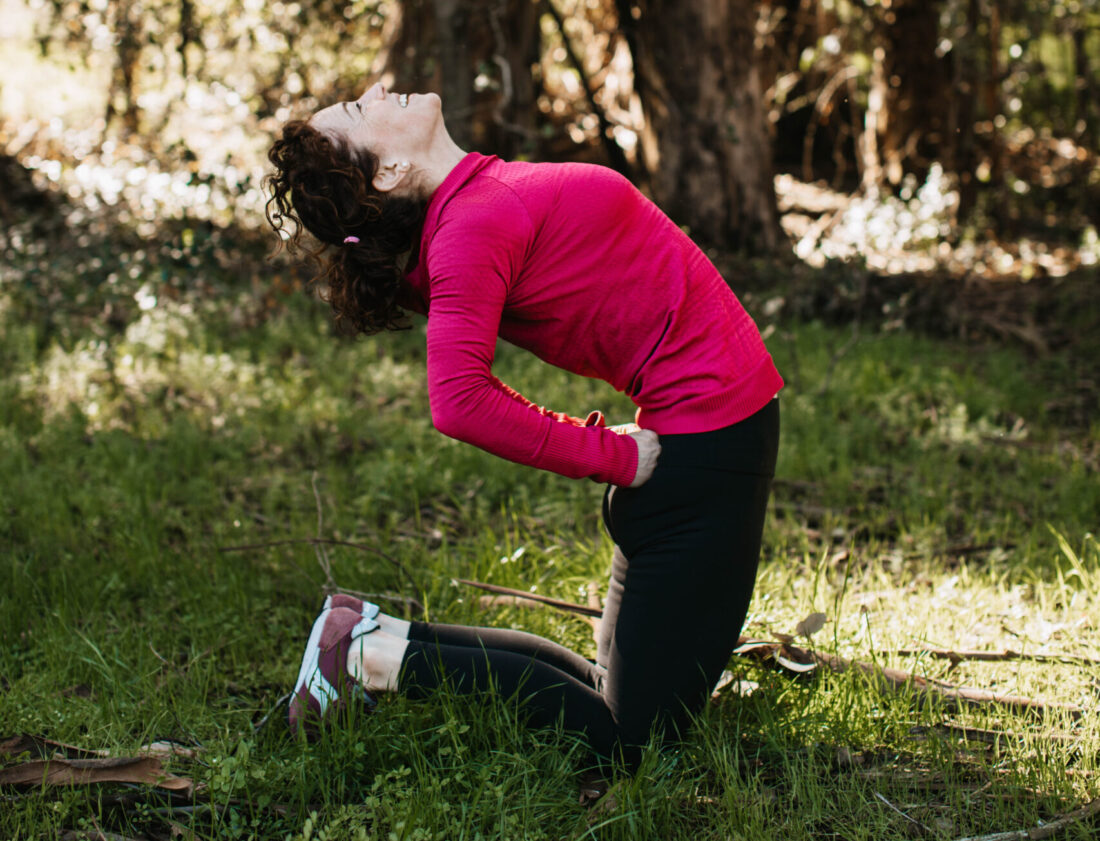
equanimity practice: learning to roll with it
equanimity is one of those “yoga words”…a fancy way to say keeping your cool when things get challenging -- physically, mentally, and emotionally. sounds good, right? so how do we practice that